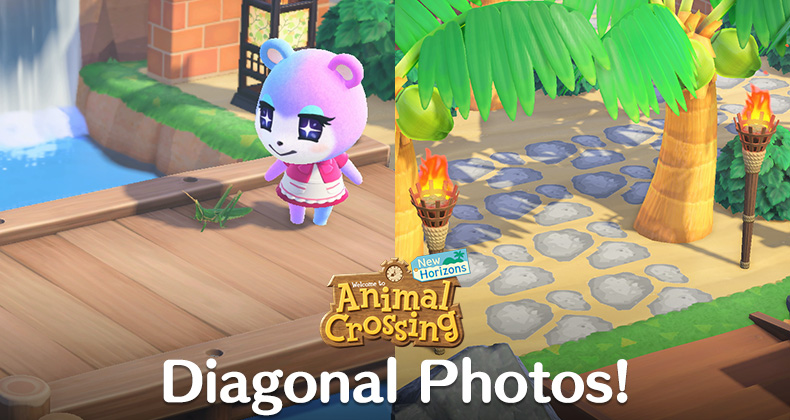
How To Take Neat Diagonal Camera Screenshots In Animal Crossing: New Horizons

Taking all sorts of creative screenshots in Animal Crossing: New Horizons by using the Camera app features has been a blast so far, but there’s a neat little trick you can use to bring a new angle to your photos!
While the Camera app on your NookPhone features all sorts of fun features like adjusting the camera angle vertically upwards or downwards and shifting the view to the sides, it’s not actually possible to change the camera angle horizontally.
We have good news though! It turns out there is actually a very clever method to capture a screenshot with your camera angled diagonally offering a unique point of view from typical screenshots — albeit with a few restrictions.
Step 1: Pick Up Your Mailbox
The key element to this trick involves your house’s Mailbox, and you’ll need to move it as the first step, unless you want to take a screenshot very close to your home! If you didn’t know already, it’s actually possible to pick up and move your Mailbox almost anywhere in Animal Crossing: New Horizons and that’s exactly what we’ll be doing here.
You’ll need to have upgraded your house expansions to at least add the second additional room to do this. Otherwise, it’s as simple as pressing the Y Button in front of your mailbox to pick it up! Check out our previous article here to learn more.
Step 2: Place Mailbox To The Left Of Your Desired Photo Subject
Now that you’ve got a mailbox sitting in your inventory, you’ll want to walk on over to the general area that you wish to take a screenshot. When you use this trick, the area that you’ll be able to take your photo of will always be towards the right of where you place the mailbox.
You’ll need to fiddle around with the exact placement with trial and error to get a feel for the best spot yourself, but generally we’ve found that you want to place the mailbox around 3 to 4 tiles to the left of where you want the photo to be focused on. Sometimes you may want to place the mailbox a tile or two higher up as well to get the angle right.
Note that it’s unfortunately not possible to move your mailbox by using the ‘shove’ mechanic with your arms. It must be completely picked up into your pockets and replaced for every movement, no matter how small. It’s pretty annoying if you’re just trying to make small shifts to get the location perfect, but that’s just how it is as far as we know.
Step 3: Open Your Mailbox And Time A Screenshot
Once you have moved your mailbox to an optimal location towards the left of the photo subject area, you need to move in front of the mailbox and open it up. Animal Crossing: New Horizons utilizes an interesting angled shot when you open you’re viewing the letters in your mailbox and that’s exactly what we’re going to take advantage of with this trick.
Obviously we can’t take a nice screenshot with the huge mailbox and letters interface getting in the way over top of our beautiful scenery, so the key here is to take full advantage of the brief window of opportunity between the camera angle change and the interface appearing.
You’ll definitely need to experiment with this yourself quite a few times to figure out how to perfect the timing, but once you ‘get it’, it’s pretty damn easy and you shouldn’t have any trouble getting your perfect screenshot almost every time.
Step 4: Crop Out The Left Side Of Your Photo
After you’ve taken some hopefully gorgeous screenshots of your island using this mailbox trick, there’s one more matter you’ll likely want to take care of. The obvious downside of this method is that you’ll always see your player character hanging out on the left side of the photo viewing the mailbox.
To resolve this, most people will probably wish to make a crop edit in a photo editing program, so that your player isn’t visible in the screenshot ruining the vibe as the ideal use-case for this trick is usually to show off nice scenery or your favorite villagers.
The easiest way for most users to do this will be to download the screenshot onto their phone from Twitter or Facebook (if you use those services to upload the screenshot from your Switch) and make the crop edit directly from the phone.
Any modern smartphone should easily be able to perform a quick simple crop like this using built-in tools within the device’s default photo app. Of course, you’re welcome to use more complex tools to do so like Photoshop as well, and even the mobile Twitter app has some built-in options to accomplish the task.
The Finished Product!
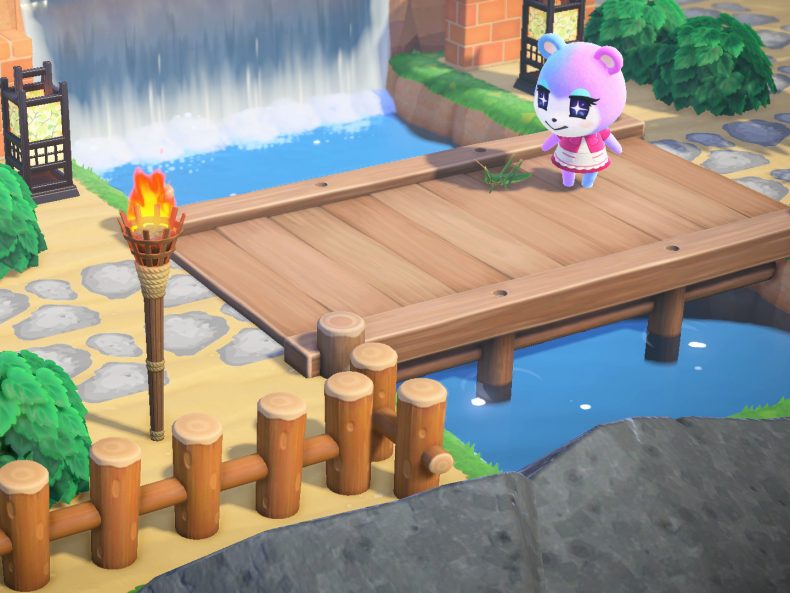
After completing all of the steps above, including making a crop edit to the screenshot for the purposes of removing my character from the scene, here’s the finished photo below!
A lot of my island remains a giant mess even after two months, but one small section that I’m quite proud of in Waikiki is the entrance area which can be seen here. I just happened to catch the perfect moment too with Judy staring down at this insect while hanging out on my beach bridge with waterfall backdrop.
As you can see, you can create some pretty cool screenshots using this trick that are unique from the other 5000 you’ve probably already taken in Animal Crossing: New Horizons over the past couple months! Be sure to check out our previous article on how to take videos using the Camera app without UI here if you haven’t seen it already.
If you take any sweet photos using this handy camera trick, we’d absolutely love to see them! Feel free to share your diagonal screenshot links with us in the comments below, or tag us in them on Twitter with @ACWorldBlog — we might share them in a round-up later.
A special thanks goes to Chibichangas who we originally discovered this trick from on Reddit! For more on Animal Crossing: New Horizons, check out our Guides section here.
Get The Latest Animal Crossing News & Guides
Sign up for our newsletter to never miss out on the latest Animal Crossing news, guides, and deals with email updates!
Animal Crossing: New Horizons News Trick


 6 years ago


