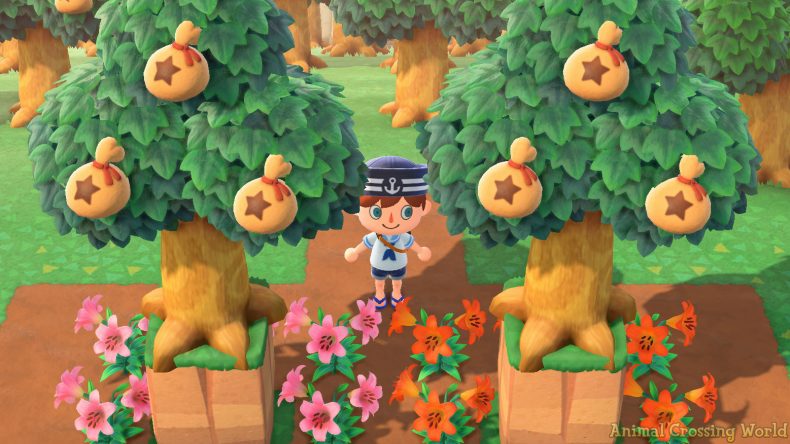
Plant Trees On Cliff Edges In Animal Crossing: New Horizons With This Handy Glitch
The Island Designer terraforming feature with both Cliff Construction and Waterscaping has brought a ton of creative possibilities to Animal Crossing: New Horizons, yet an unfortunate amount of restrictions too.
In particular, if you’ve spent much time terraforming cliff areas with trees, there’s a good chance you’ve run into the inability to plant a tree too close to an edge of a cliff.
Thanks to a particularly helpful glitch though, we can cross that creative restriction off the table for the most part! It remains unfixed of the latest Version 1.3 and 1.3.1 updates to Animal Crossing: New Horizons, so let’s take a look at what this bug can do.
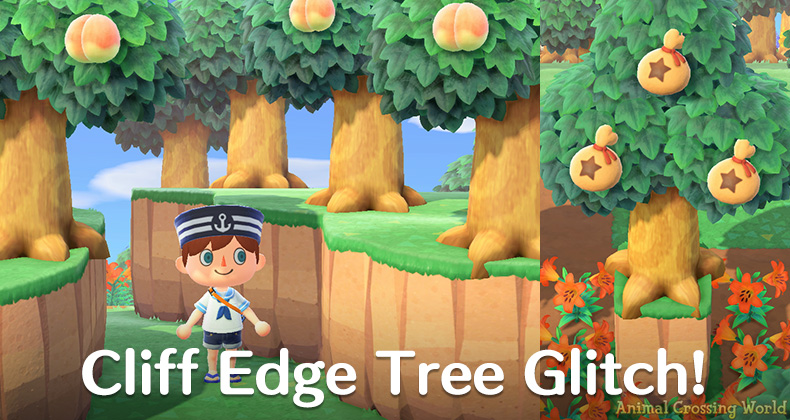
Perhaps most strikingly, it’s now possible to create small single tile 1×1 sized pillars with trees on them. They certainly look a bit weird, which makes sense given its using a glitch and was unintended by the developers.
Despite their odd appearance though, we could definitely see some clever uses for them in different themed areas of islands, like a spooky forest for example.
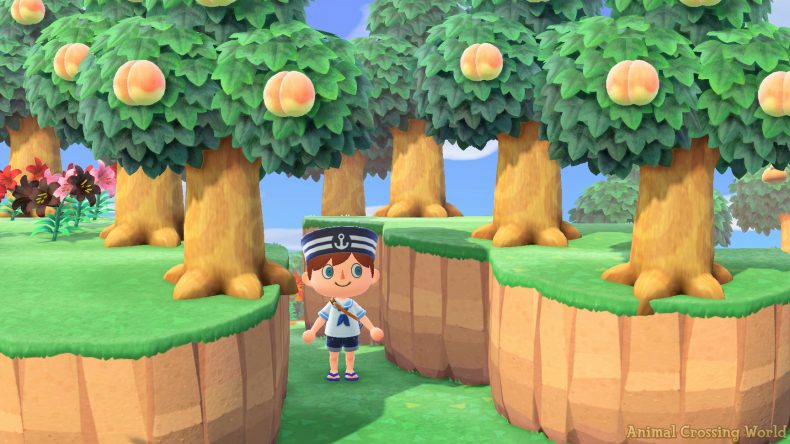
What’s likely more appealing to most Animal Crossing: New Horizons players however is the ability to use this glitch to create more densely packed together trees within cliffs, without needing extra padding around each tree to fit your scenery near cliff edges.
It’s especially great for designing some of those tight corridors near the entrances of islands that have been quite popular, or even just simply having trees closer to your cliff edges in general.
While we put together our own quick example of a corridor using these cliff edge trees that you can see above, we’re certainly no design experts here. Check out the much better tight corridor design below from Reddit for a better idea of what’s possible:
This cliff top tree planting glitch is the best thing to ever happen to me. from r/AnimalCrossing
However, due to the rather complicated mechanics of how the glitch operates, there still remain a few logistical restrictions in where and how it can be used which you’ll learn by playing around. Let’s go over exactly how to use it in the in-depth guide below.
How To Plant Trees On Cliff Edges Guide
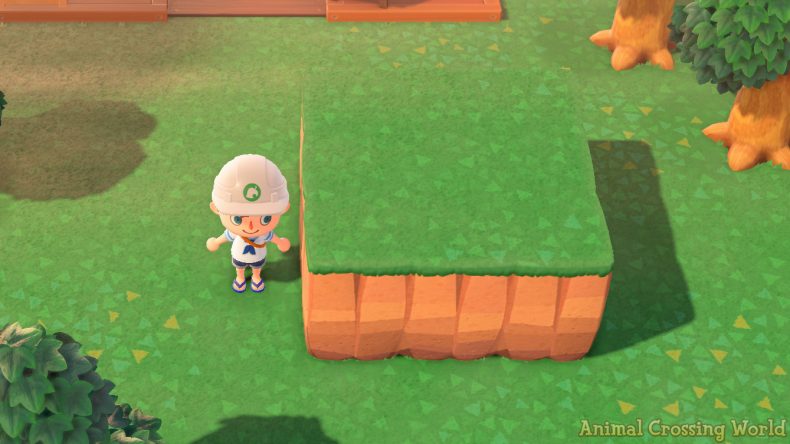
Step 1: Build A 3×3 Square Of Cliff Space
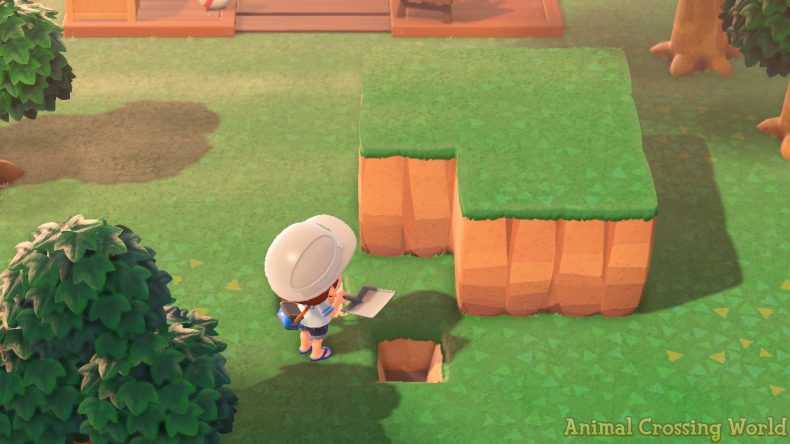
The best way to get started with the trees on cliff edges glitch is to create a simple 3×3 block of cliff tiles somewhere on your island. We’ll be using this as an example of how the bug works, so you can try incorporating it into your own designs later.
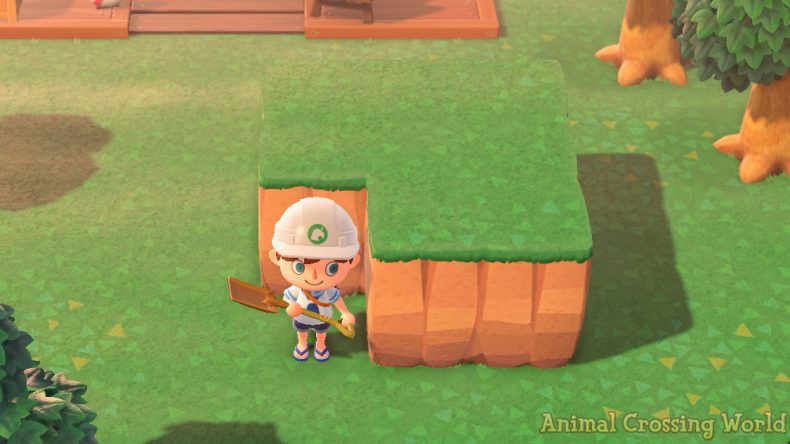
Step 2: Cut A Hole In Any Corner
For the next step. pick a corner of your 3×3 block of cliffs and destroy the tile leaving a hole in your square cliff block. Keep in mind that the corner you choose here is the edge your planted tree will be adjacent to. This doesn’t matter for the 3×3 example, but will be important when using the glitch on a real design.
Step 3: Fill In Water On Two Edges Of Corner
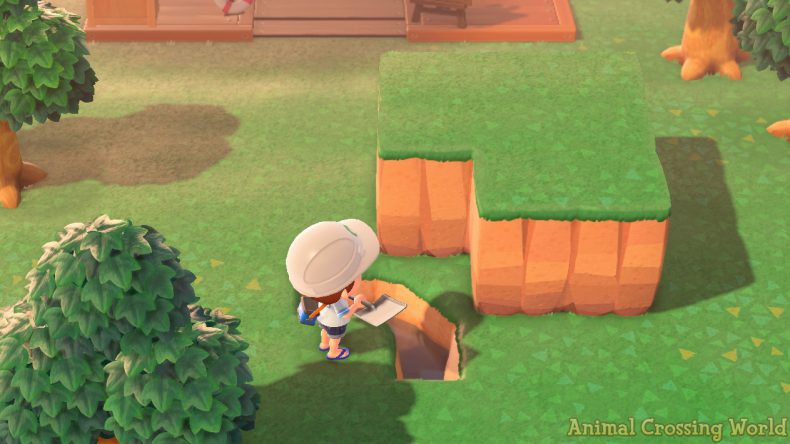
Next, take out the Waterscaping Permit tool and create water in the two tiles directly next to your new corner. If this is confusing, refer to the image below for help!
Step 4: Fill In Water Diagonally Into Corner
After you’ve got two water tiles surrounding the direct two edges of the cliff corner, you need to add a third water tile directly onto the corner. Do this by pointing diagonally towards the corner and using the Waterscaping tool.
Make sure you’re filling in the third tile of water diagonally — don’t do it in any other manner or the glitch likely won’t work properly! Again, refer to the image above to be sure you understand correctly.
Step 5: Plant Your Tree By The Corner Edge Of Cliff
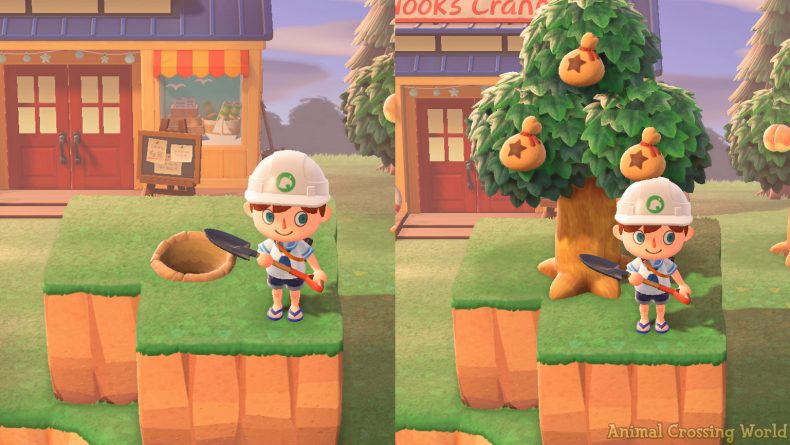
Once your cliff corner and water tiles are in place, as shown in the previous section’s screenshot, you’re ready to use a Ladder and climb the cliff for planting time! In this example, we’ll be placing our tree in the center of the 3×3 square block, as that’s the only location possible.
However, it’s important to understand that where you place your tree is diagonally of wherever the corner with a diagonal water tile is. When using this trick on a larger piece of land, and not just a simple 3×3 block, that’s where you can place the tree.
The diagonal piece of water touching the corner edge of the cliff is essentially the key to this glitch. Once you’ve done this and understand how it works, you can use the same strategy to edit cliff edge trees into your existing designs — although it can be quite tricky sometimes.
How To Remove Cliff Edges Around Trees
One of the most fascinating designs you can accomplish with this glitch, as seen earlier in this article, is to remove all of the edges from the cliff until there’s just one single tile in the middle with a tree.
Creating this design isn’t quite as easy as it appears at first glance though because you’re sometimes unable to interact with the cliff tiles directly touching the tree due to the error message saying “It’s dangerous to modify this cliff because the tree above might fall!”.
Basically, you need to carefully make use of curved cliff edges that are creatively destroyed in a manner that takes down another touching cliff tile, so that more than one is removed at a time. This is the only way to avoid the problem of being unable to destroy an edge.
It might take some trial and error to learn exactly how to do this effectively without making mistakes. And when you do make a mistake, it’s often irrecoverable without starting over and repeating the glitch from the beginning again.
If you’re very experienced with the terraforming ability in Animal Crossing: New Horizons, then you’re likely already familiar with this technique and how it works as a way to speed up the terraforming process normally.
How To Delete Stuck Trees
If you make use of the technique covered above to reduce your trees to a single tile cliff, then you’ll run into an obvious problem later when you wish to remove the tree — there’s no way to access the cliff to dig it back up!
Thankfully, this issue is no big deal and can be easily taken care of by using the Request Cleanup feature. You can access this option by opening the Island Designer app on your NookPhone and selecting ‘Request cleanup’.
You’ll want to do this directly next to the stuck tree to reduce as much collateral damage as possible, since other unintended items or scenery could get included as well. When you use the cleanup, your stuck tree will just disappear and unfortunately cannot be recovered.
We’d like to give a special shout out to @Booscarywalla on Twitter who appears to have been the first person to discover and share this glitch as far as we can tell.
Stay tuned to Animal Crossing World for everything on Animal Crossing: New Horizons, including our extensive Guides section here. In particular, don’t miss out on our new Sea Creatures, Pascal’s Mermaid Set, and Pirate Gulliver guides.
Get The Latest Animal Crossing News & Guides
Sign up for our newsletter to never miss out on the latest Animal Crossing news, guides, and deals with email updates!
Animal Crossing: New Horizons News


 5 years ago

