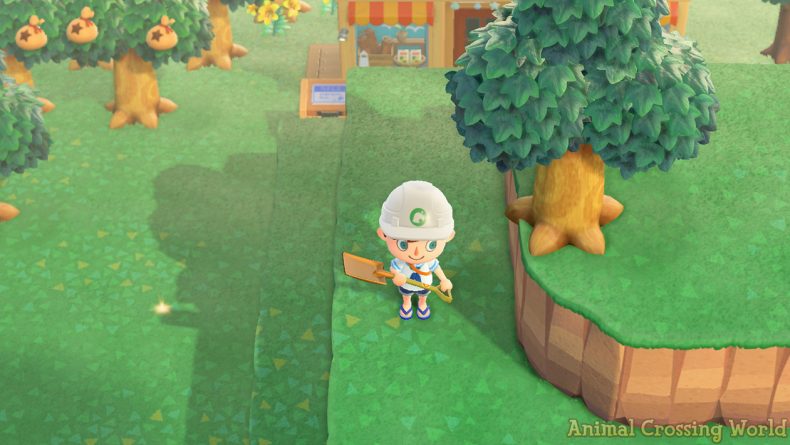
How To Climb To 4th Level Cliff Glitch In Animal Crossing: New Horizons (Version 1.9)
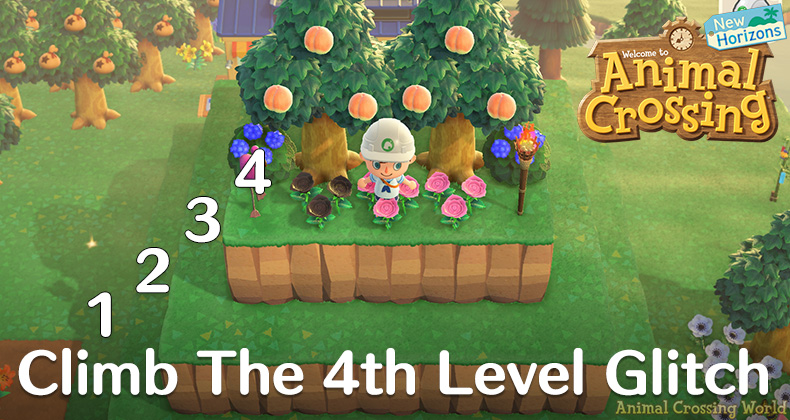
Have you ever wanted to explore the forbidden lands of that highest 4th level peak on your Animal Crossing: New Horizons island when terraforming? Good news — you can do just that with a handy glitch!
First discovered during last Summer after the Version 1.3 Update, this incredible glitch has somehow remained available and unscathed by Nintendo in every version up to and including the latest Version 1.9 Update released in March.
It’s a bit of a miracle given how many other helpful glitches allowing for more expansive design options have been shut down and removed by the developers over time, while this one stays intact.
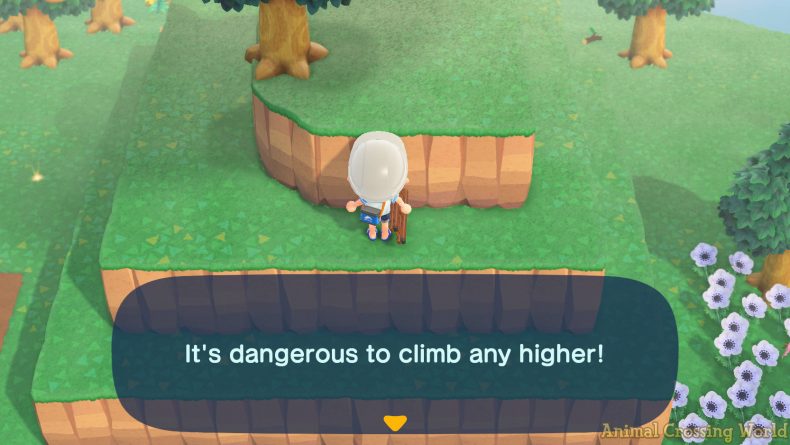
Thanks to the glitch, it’s possible to climb up to the very top of your island’s cliffs and avoid that pesky ‘It’s dangerous to climb any higher!’ error message getting in your way. It turns out to not be quite so dangerous after all, eh?
And once you’ve reached the forbidden land on the 4th level, you can fully decorate the area with trees, bushes, flowers, and even placed furniture items too. Although keep in mind you may have to sacrifice some of these later if the glitch is fixed in a future update.
Without further ado, let’s explain exactly how you can explore the highest 4th level cliffs of your Animal Crossing: New Horizons island in Version 1.9 with this helpful glitch!
How To Climb Up The 4th Level Cliff In Version 1.9 (Guide)
Step 1: Dig Three Tiles In, Dig One Corner Tile
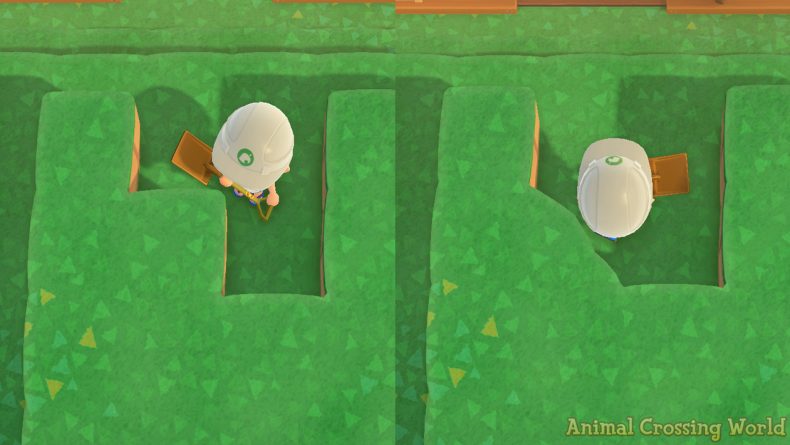
To get started with climbing to the 4th level of your cliffs, dig three empty tiles into the cliff in the north to south direction, like an upside down L shape. Obviously, you need to have created some cliff area on the 4th level already for this.
Next, go ahead and round out the 4th tile so that it’s a rounded corner tile, making a 2×2 square with the bottom left corner curved. Essentially just recreate exactly what you see in the screenshot below if it’s too confusing!
It’s sometimes possible to pull off this glitch from the south to north direction or others instead, but it seems to work far more reliably in the manner we’re outlining here, so try this first.
Step 2: Place A Small Item North Of You In The Middle of 4 Tiles
For the second step, you need to find a small 1×1 tile item. In this example, we’re using the Glass Holder With Candle, but the glitch should work fine with any similarly sized item.
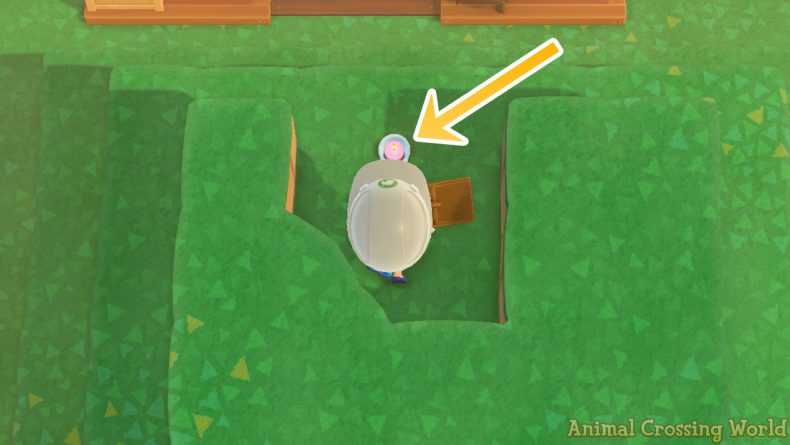
Once you’ve got your small 1×1 item ready, place it down carefully in the direct middle of the 4 tiles above you. Basically you want the item in the ‘half-tile’ position in between all four tiles. It’s extremely important that you place it right like this for the glitch to work correctly.
Again, you can refer to the screenshot above to see the exact placement and copy it!
Step 3: Face The Item North, Move Down Towards South East, Quickly Press A To Dig
Finally, go ahead and face straight north towards the placed item above you. Then you need to make two moves in very quick succession: face down towards the south east corner with the Analog Stick, then press the A Button to dig.
Hopefully after a few tries, you’ll get it all figured out, but this step is by far the most difficult part. Honestly, it just requires excellent timing and gets easier with practice once you’ve done it successfully a few times.
The main key here is nailing down the timing between pressing down with the analog stick towards the south east corner and pressing the A button afterwards. In our experience, you want to press the A button at almost the exact time as you look towards the cliff, as fast as possible.
If you’ve having trouble, just keep trying and test out different timing in case you’ve misunderstood how it works. Carefully watch the short clip included above for additional help!
Step 4: Glitch Up Onto The 4th Level Cliff And Decorate!
Assuming the glitch has been performed correctly, you’ll dig a new cliff on the south east tile you’re half standing on, which will push you onto the corner tile thereby collusion glitching you up onto the 4th level! Congrats!
Once you’ve reached these beautiful new heights, it’s time to begin decorating! Or well, you can if you want to, it’s up to you! Before you ask, we’ve tested that it’s possible to plant trees, bushes, and flowers on the 4th tier of cliffs, in addition to placing furniture items.
However, it’s unfortunately not possible to use teleporting Warp Pipes from the Super Mario Set on the 4th cliff level. Sorry!
Bonus: You Can Combine With Trees On Cliff Edge Glitch
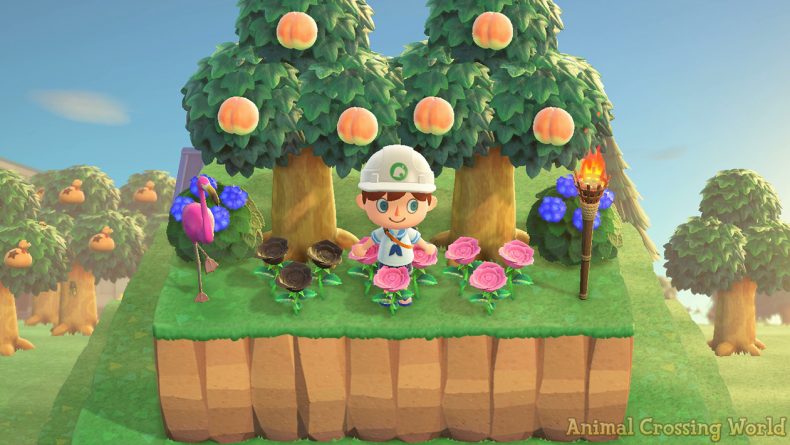
By the way, if you want to take your Animal Crossing: New Horizons designing to the next level, it’s actually possible to combine this glitch with another one we covered previously allowing you to plant trees on the direct edges of cliffs.
Take a look at the screenshot example above, which we created using both glitches together. Learn how to plant trees on the edges of cliffs yourself with our full guide here.
How To Remove Items From 4th Cliff If You Can’t Access It
It’s worth being aware that Nintendo could choose to fix this cliff glitch at any time in the future. One issue that might come to mind is what happens when it is fixed or you’re unable to access the 4th level for any other reason. Naturally, you might worry about whether any scenery or items placed up there will be stuck forever.
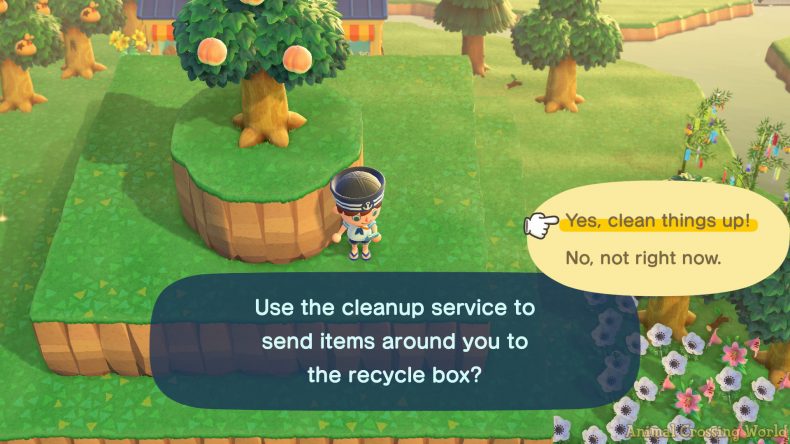
Well, we’ve got some good news — you can use the ‘Request cleanup’ feature of the Island Designer app on your NookPhone to easily remove any trees or items up on the cliffs near you! (you will lose any scenery forever though) Then once everything has been removed, you can remove sections of the 4th level cliff using terraforming as normal.
However, it’s worth noting that flowers appear to be unaffected by the clean-up feature. So there still is some risk to using this glitch with flowers in the possible case where Nintendo fixes it in an inelegant manner.
Generally speaking, most glitches like this fixed by Nintendo in the past have been handled in a respectful manner that ensures nobody has their island irreversibly affected, but we can’t predict the future for sure. Always make use of glitches at your own risk.
We’d like to give a special thanks to Glarglaflarg on Reddit who appears to be the first person to discover this version of the glitch on Version 1.3 of Animal Crossing: New Horizons.
Stay tuned to Animal Crossing World for everything on Animal Crossing: New Horizons, including our extensive Guides section here. Our most popular pages include April Update, Sanrio Villagers & Items, Sanrio Amiibo Cards, Nook Points, Cherry Blossom Recipes, Bunny Day Event, Super Mario Items, Redd Art, and Sea Creatures.
Get The Latest Animal Crossing News & Guides
Sign up for our newsletter to never miss out on the latest Animal Crossing news, guides, and deals with email updates!
Animal Crossing: New Horizons Glitches Guides News


 5 years ago

